Introduction
Replacing brake discs yourself is a practical DIY task that saves money and boosts your confidence. With the right tools and care, you can restore your vehicle’s braking power without a mechanic. This step-by-step guide walks you through the process, from preparation to testing, making it accessible for beginners and seasoned DIYers alike.
Tools and Materials You’ll Need
- Tools:
- Jack and jack stands
- Lug wrench
- Socket set (with torque wrench)
- C-clamp or brake caliper tool
- Screwdrivers (flathead and Phillips)
- Wire brush or sandpaper
- Gloves and safety glasses
- Materials:
- New brake discs
- New brake pads (recommended)
- Brake cleaner
- Anti-seize lubricant
Step-by-Step Brake Disc Replacement Process
- Preparation
- Park on a flat surface, engage the parking brake, and chock the wheels. Gather your tools and materials.
- Lift and Secure the Vehicle
- Jack up the car and secure it with jack stands. Remove the wheel by loosening the lug nuts.
- Remove the Brake Caliper
- Unscrew the caliper bolts with a socket wrench, slide the caliper off, and hang it with a bungee cord to protect the brake line.
- Remove the Brake Pads
- Slide out the pads. If stuck, pry them loose with a screwdriver. Replace them if they’re worn.
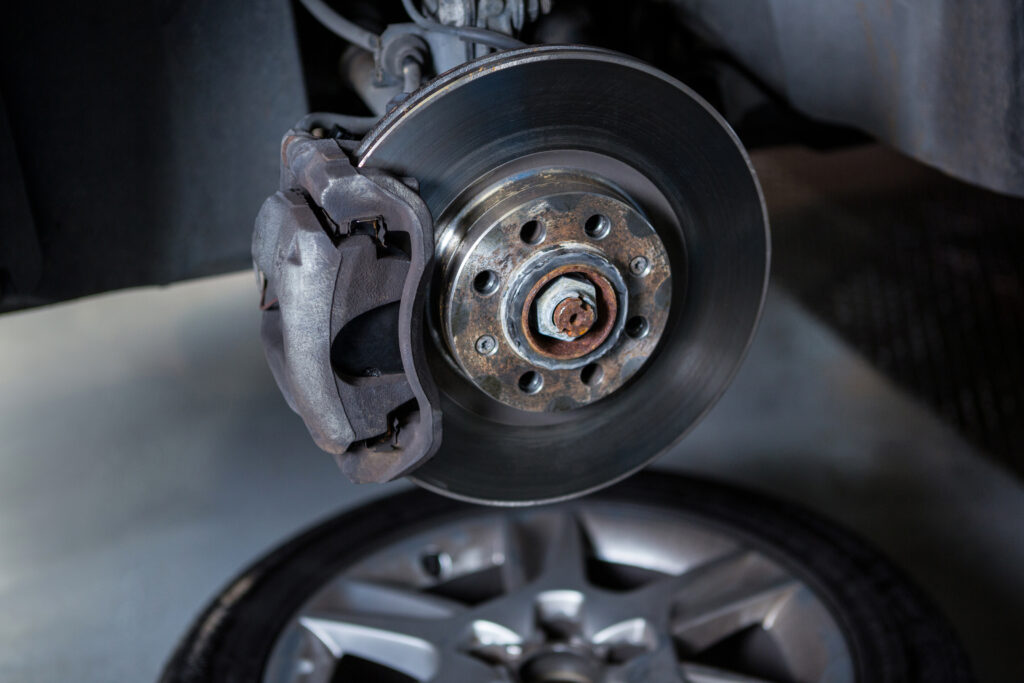
- Detach the Brake Disc
- Remove any retaining screws or clips. Tap the disc with a rubber mallet if it’s stuck, then pull it off the hub.
- Clean the Hub Surface
- Use a wire brush or sandpaper to clear rust and debris for a smooth fit with the new disc.
- Install the New Brake Disc
- Slide the new disc onto the hub, aligning screw holes. Secure with screws if needed, but don’t overtighten.
- Reinstall the Brake Pads
- Place new pads in the caliper bracket, ensuring they’re clean and seated properly.
- Reattach the Brake Caliper
- Compress the caliper piston with a C-clamp, then slide it over the pads and disc. Tighten bolts to spec.
- Reinstall the Wheel
- Mount the wheel, hand-tighten lug nuts, lower the car, and torque the nuts in a star pattern.
- Test the Brakes
- Pump the brake pedal to seat the pads, then test drive slowly to ensure smooth braking.
Safety Tips
- Work One Side at a Time: Keeps the other side as a reference.
- Avoid Touching the Disc: Oils from your hands can cause issues—wear gloves.
- Check Torque Specs: Use a torque wrench to prevent warping or loosening.
Common Mistakes to Avoid
- Skipping Hub Cleaning: Debris causes uneven seating and vibrations.
- Overtightening Bolts: Can damage the disc or hub.
- Reusing Worn Pads: Pair new discs with new pads for best results.
Conclusion
Replacing brake discs is a rewarding DIY job that improves safety and performance. Follow these steps—clean the hub, torque correctly, and test thoroughly—for a successful outcome. Safety first: take your time and double-check your work.