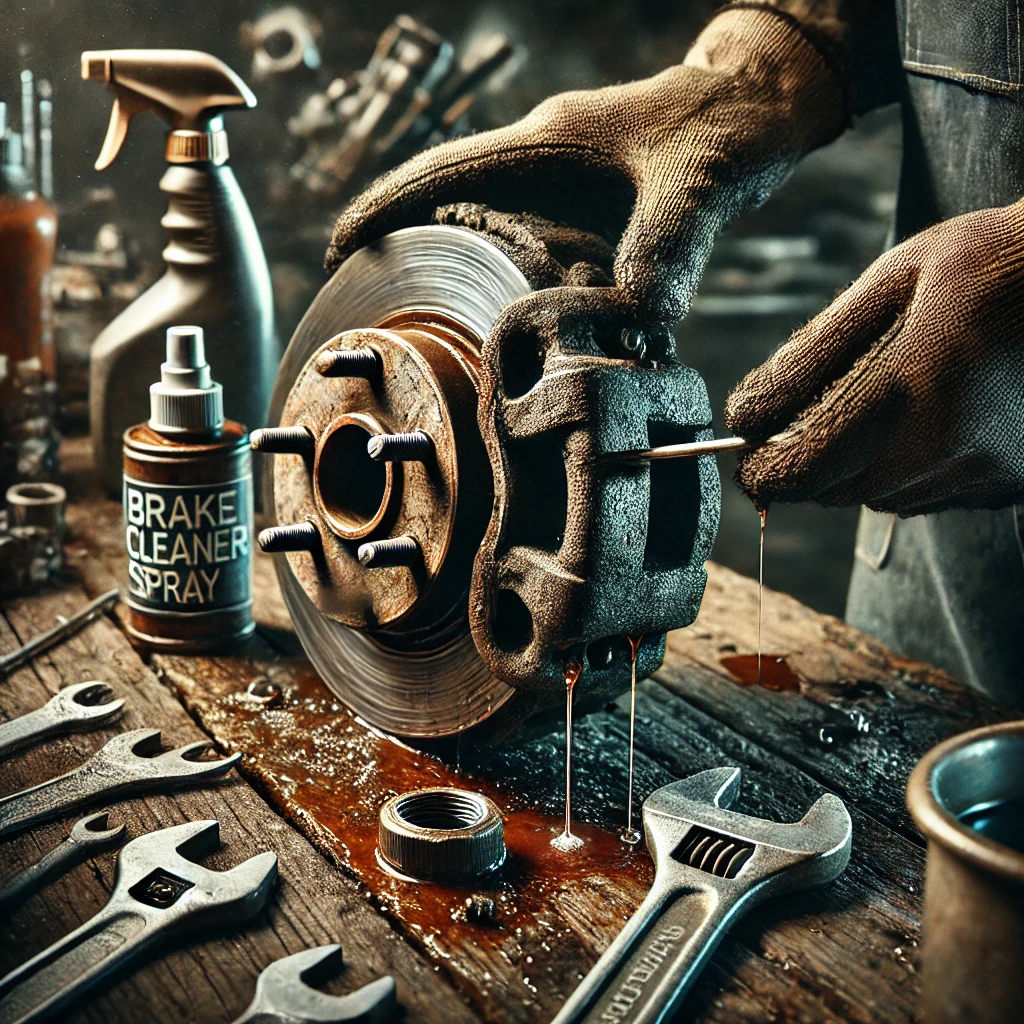
Tools and Equipment Needed
- Car jack and jack stands – To safely lift the car.
- Wrench set and socket set – For removing bolts.
- Brake fluid and bleeder kit – To ensure proper hydraulic function.
- C-clamp or brake caliper tool – To compress the piston.
- New brake calipers – To replace worn-out ones.
- Protective gloves and safety goggles – Essential for safe handling.
Brake Caliper Replacement Process
Step 1: Secure the Vehicle and Remove the Wheel
Park on a flat surface, engage the handbrake, and lift the car using a jack. Remove the wheel to access the brake system.
Step 2: Remove the Old Caliper
Locate the brake caliper and unscrew the caliper bolts. Carefully detach the brake hose to avoid fluid spillage. If the caliper is stuck, use a rubber mallet to loosen it.
Step 3: Inspect the Brake Pads and Rotors
Before installing the new caliper, check the brake pads and rotors. If they show signs of uneven wear or deep scoring, consider replacing them.
Step 4: Install the New Brake Caliper
Position the new caliper in place and secure it using caliper bolts. Reattach the brake hose and ensure all fittings are tight to prevent leaks.
Step 5: Bleed the Brakes
Air trapped in the brake lines affects performance. Use a bleeder kit to remove air bubbles, ensuring a firm and responsive brake pedal.
Step 6: Reassemble and Test
Reinstall the wheel, lower the vehicle, and pump the brake pedal to restore pressure. Conduct a low-speed brake test to ensure proper function.
Professional vs. DIY Brake Caliper Replacement
While DIY brake caliper replacement is possible for experienced car owners, it requires technical knowledge and specialized tools.
Opting for a professional service at Mechamz.uk guarantees:
✔ Proper installation with high-quality parts
✔ Brake fluid bleeding by trained technicians
✔ Safety checks to ensure optimal braking performance
Need a brake caliper replacement? Book your appointment with Mechamz.uk today!