Introduction
Replacing a damaged exhaust system can prevent costly repairs and ensure your vehicle runs smoothly. While professional assistance is recommended, understanding the exhaust replacement process helps car owners make informed decisions. This article outlines the steps involved in replacing a vehicle’s exhaust system.
Step-by-Step Exhaust Replacement Process
- Inspection and Diagnosis
- A mechanic examines the exhaust system for damage, rust, and leaks.
- Identifies which components (muffler, catalytic converter, or exhaust pipes) need replacement.
- Lifting the Vehicle
- The car is raised on a hydraulic lift for better access to the exhaust system.
- Removing the Old Exhaust
- Rusted bolts and clamps are loosened.
- The damaged exhaust system is carefully detached from the vehicle.
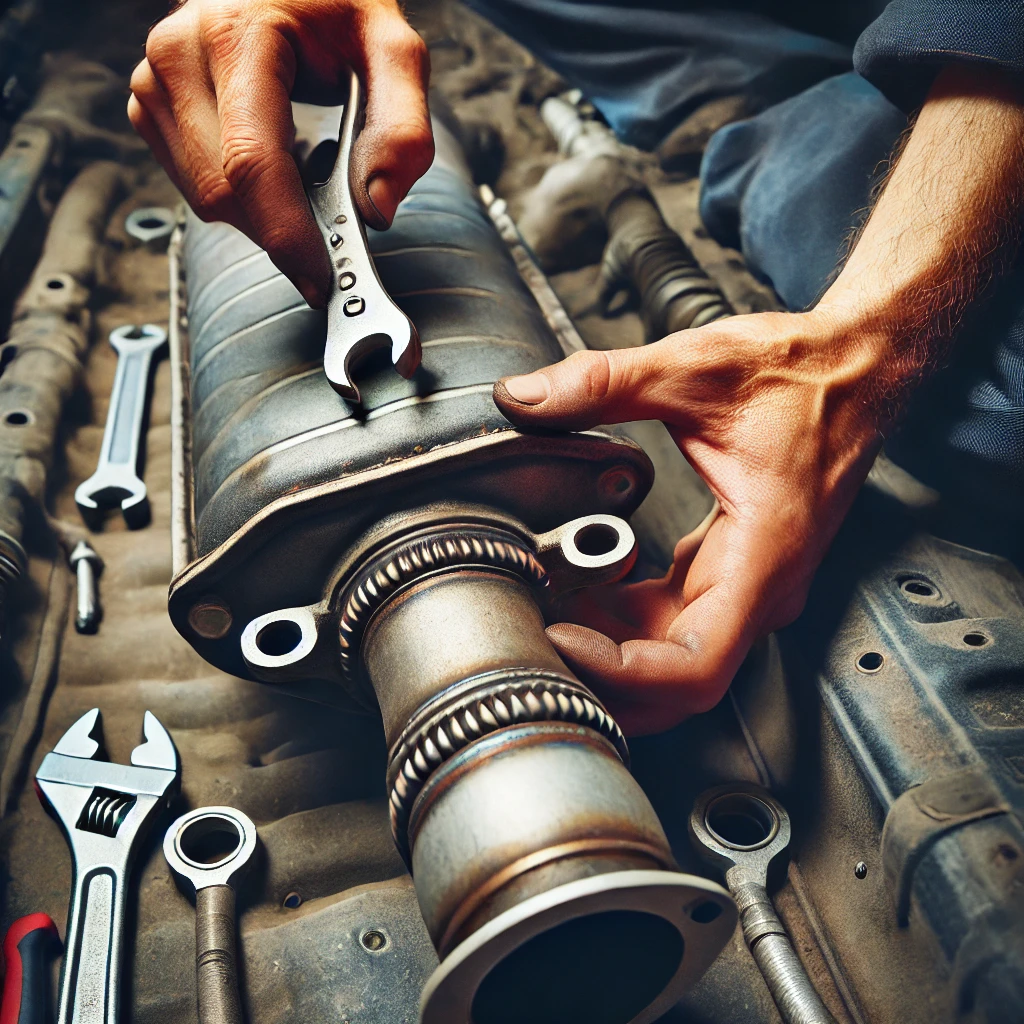
- Installing the New Exhaust System
- The new exhaust components are aligned and fitted into place.
- Bolts and clamps are secured to prevent leaks.
- Sealing and Testing
- Sealant is applied to prevent leaks in joints.
- The vehicle is started to check for unusual noises or fumes.
- A final test drive is conducted to ensure proper installation.
Common Challenges During Exhaust Replacement
- Rusty or Seized Bolts: Can be difficult to remove and may require cutting tools.
- Incorrect Fitting: Misalignment can cause leaks or poor performance.
- Emission System Errors: Faulty installation may trigger check engine lights.
Conclusion
Exhaust replacement is a complex process that ensures optimal engine performance, fuel efficiency, and emissions control. Seeking professional service can help prevent installation errors and costly repairs.