Introduction
Clutch replacement is a complex process that requires professional expertise and precision. A well-maintained clutch enhances your vehicle’s performance, while a worn-out clutch can lead to transmission issues. This article will guide you through the clutch replacement process, providing insights into what to expect during the service.
Step-by-Step Clutch Replacement Process
- Diagnosis and Inspection
A mechanic will first diagnose the clutch’s condition by testing the vehicle’s performance and examining the clutch components for wear. - Removing the Transmission
The transmission must be removed to access the clutch assembly. This involves disconnecting various components, including the driveshaft and gearbox. - Clutch Assembly Removal
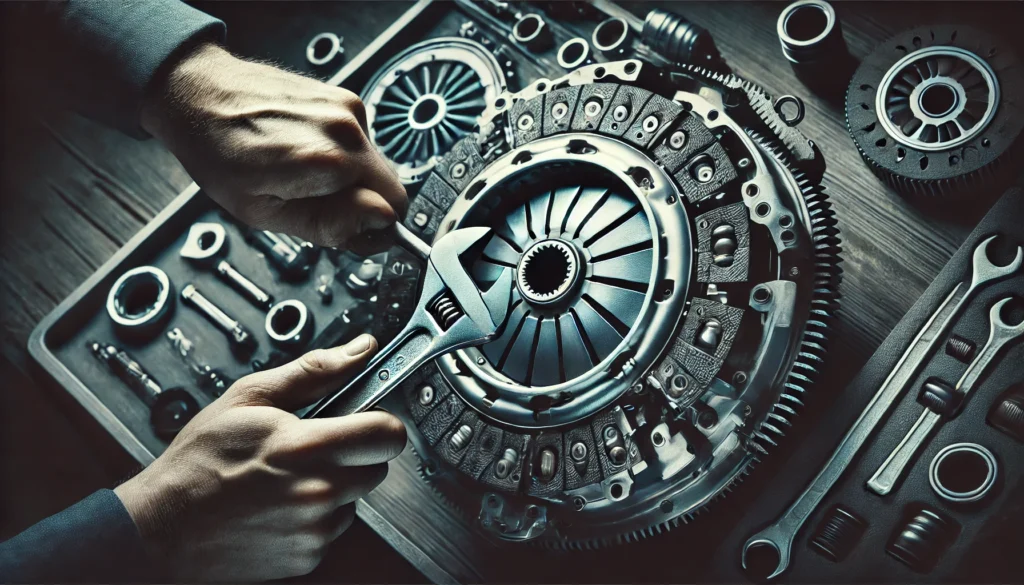
The old clutch disc, pressure plate, and release bearing are carefully removed. The mechanic inspects the flywheel for damage and resurface it if necessary. - Installing the New Clutch
The new clutch components are installed, ensuring proper alignment and fit. The flywheel, pressure plate, and clutch disc are secured, and the release bearing is replaced. - Reassembling the Transmission
The transmission is reinstalled, and all components are reconnected. The mechanic tests the clutch pedal’s feel and adjusts it if needed. - Test Drive
Finally, a test drive is conducted to ensure the clutch operates smoothly and the vehicle performs optimally.
Conclusion
Clutch replacement is a meticulous task that requires technical knowledge and specialized tools. Relying on a professional mechanic for clutch replacement guarantees safety, reliability, and enhanced vehicle performance.