Calipers play a vital role in the braking system, ensuring safety and vehicle control. Replacing faulty calipers is crucial for maintaining effective braking performance. Here, we explore the importance, signs of failure, and the detailed process of caliper replacement.
Understanding Calipers and Their Role
Calipers are essential components that house brake pads and pistons. They clamp the brake pads onto the brake disc, generating the friction needed to stop the vehicle. This action is triggered by hydraulic pressure when the brake pedal is pressed.
Signs of Faulty Calipers
- Brake Fluid Leaks: A common sign of caliper damage, leading to reduced braking efficiency.
- Uneven Brake Pad Wear: Indicates calipers are not functioning correctly, causing imbalanced braking.
- Dragging Sensation: When calipers fail to release fully, resulting in a dragging sensation or resistance while driving.
- Pulling to One Side: Faulty calipers can cause the vehicle to pull to one side when braking, impacting stability.
- Reduced Braking Power: A soft or spongy brake pedal suggests caliper malfunction or air in the brake lines.
Why Timely Replacement is Crucial
Replacing damaged calipers ensures:
- Safety: Prevents brake failure, enhancing overall safety.
- Even Brake Wear: Promotes uniform brake pad wear, prolonging the life of other braking components.
- Consistent Braking Performance: Maintains effective and responsive braking.
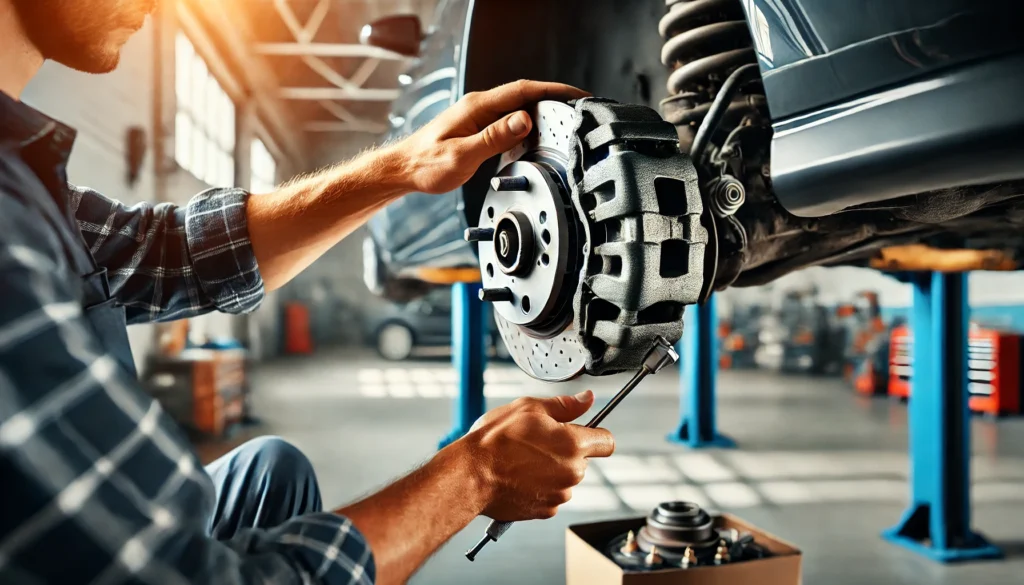
Caliper Replacement Process
- Preparation and Safety Measures:
- Park the vehicle on a flat surface and engage the parking brake.
- Use safety stands and wear protective gear.
- Wheel Removal:
- Loosen the lug nuts and lift the vehicle.
- Remove the wheel to access the braking components.
- Caliper Disconnection:
- Detach the brake hose from the old caliper, preventing fluid leaks by capping the hose.
- Unbolt the caliper mounting bolts and slide the caliper off the brake disc.
- Installing the New Caliper:
- Position the new caliper over the brake pads and align it with the mounting bracket.
- Secure it using the mounting bolts and reattach the brake hose.
- Bleeding the Brakes:
- Remove any air from the brake lines to ensure consistent braking power.
- Check for leaks and tighten all connections.
- Reassembling and Testing:
- Reinstall the wheel and lower the vehicle.
- Test the brakes for functionality and check for any unusual noises.
Maintenance Tips for Longevity
- Regularly inspect brake fluid levels.
- Check for leaks or wear in brake hoses.
- Ensure proper lubrication of caliper guide pins.